
Yoga practice teaching observation
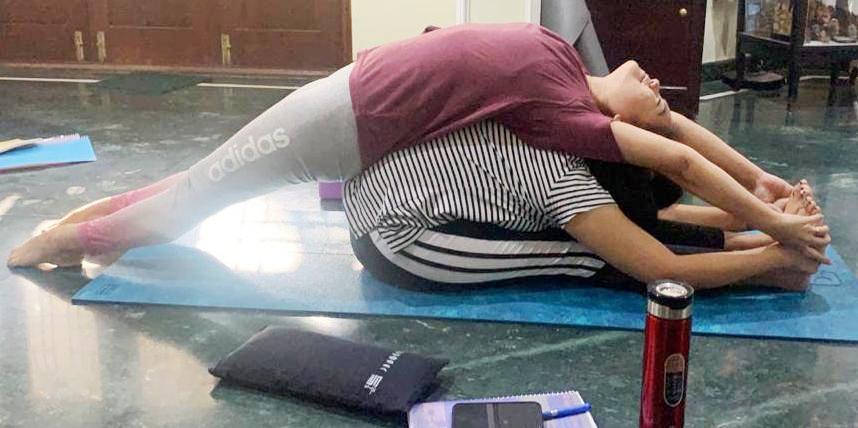
Yoga practice teaching observation. In training, learning observation allows the individual to become more aware of the teaching structure, methodology, asanas, etc. Observation helps in understanding the structure of asana, its modifications, and variations. Furthermore, understanding the differences in similar asanas. Such kind of observation can only be developed through the practice of teaching. The trainees are encouraged to take mock classes with other trainees involving different asanas and sequencing where they instruct and correct the practice of their fellow trainees. It requires staying attentive to the movement and posture of the student while simultaneously honoring their needs. Not keeping them in one asana for very long. It requires using verbal cues to help with alignment correction while sounding encouraging. It is also understood that yoga is a practice of journey or process and not the practice of attaining a goal. It is important to look at the practice from the student’s perspective to help their practice. Courtesy To: Shrutika Mishra, RYT – 200 Hour
Ethics in teaching and touching
Ethics in teaching and touching. Yoga philosophy emphasizes deeply the practice of Yama. Yama is a personal code of ethics for practicing and teaching yoga. It includes Ahinsa – Nonviolence, Satya – Truth speaking, Asteya – Non-stealing, Apahgriha – Non-possessiveness, and Brahmacharya – Abstinence or rightful use of energy. These ethics create a safe environment for the students and clear the intentions of teaching yoga. The teacher should teach what is true to their knowledge and not beyond their expertise. They shouldn’t push the student in a way that can be harmful to the student, physically, mentally, or emotionally. The teacher should be aware of the functional anatomy, contradictions, and risk factors for practicing yoga and help to strengthen students’ practice. Touching to correct alignment is an important part of teaching yoga. However, it should always be consented to by the student and the teacher should ask for consent before approaching the student. The teacher should not touch the student blindly, randomly, forcibly, meanderingly, and inappropriately. The touching should only be to correct the alignment and provide support or stability in an asana. The consent needs to be valued at all times.
An essay about partner standing observation.
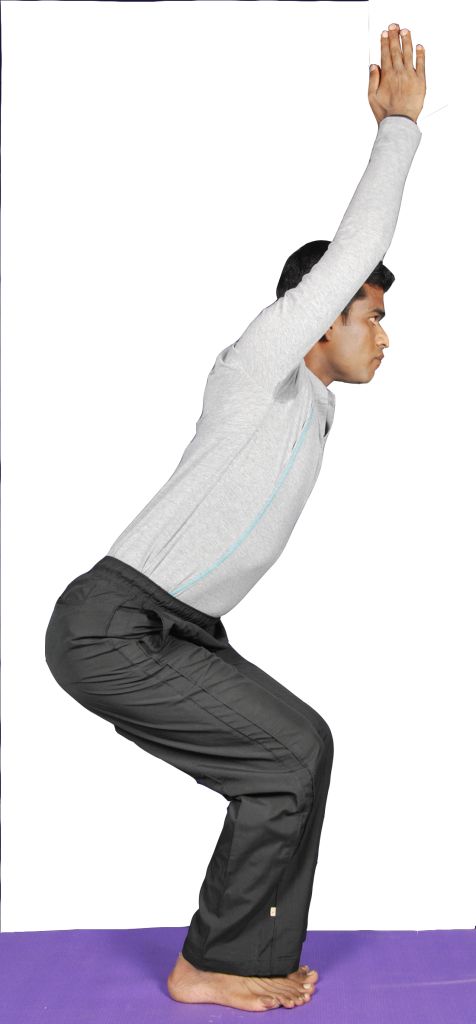
An essay about partner standing observation. In Partner Standing observation, there are two people involved the Looker (observer) and the Lookee (demonstrator). The observer or Looker has to observe the asana demonstrated by the demonstrator from all four angles. From the back, they must observe the alignment, direction, and location of feet, Achilles, calves, back knees, hips, arms, shoulders, and neck. From the from they must observe the alignment, direction, and location of: toes, kneecaps, rotation of the hips, torso, anterior arms, shoulders, head, and gaze. From the sides, they must observe the alignment of the ear to shoulder, shoulder to hip, hip to knee, knee to ankle, and whether or not their back is lengthened, lordosis (hunched front) or kyphosis (hunched back). Courtesy To: Shrutika Mishra, RYT – 200 Hour
Types of asana demonstration.
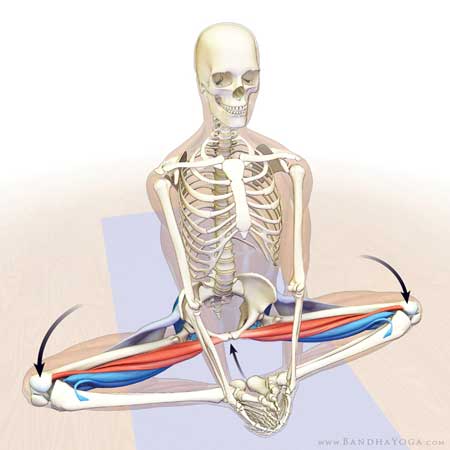
Types of asana demonstration. Positioning and Demonstrating: This includes positioning oneself in front of the class and demonstrating the practice, so it is visible to all In the flow Demonstration: Either the teacher themselves or an assistant demonstrates while giving verbal instructions and verbal cues on how to transition into the asana and the proper way to stay in the It helps the flow of the class to be maintained without any break. Gather Around Demonstration: Here, the flow is stopped, and the students are asked to stop and look at The students gather around the teacher and the teacher then demonstrates while explaining. The demonstration happens by breaking it down and pausing at every stage and explaining the alignment along the way. If any doubts are raised, they are clarified, and only then do students return back to continue with the practice. Courtesy To: Shrutika Mishra, RYT – 200 Hour
Different levels of hatha yoga class, and its prerequisites.
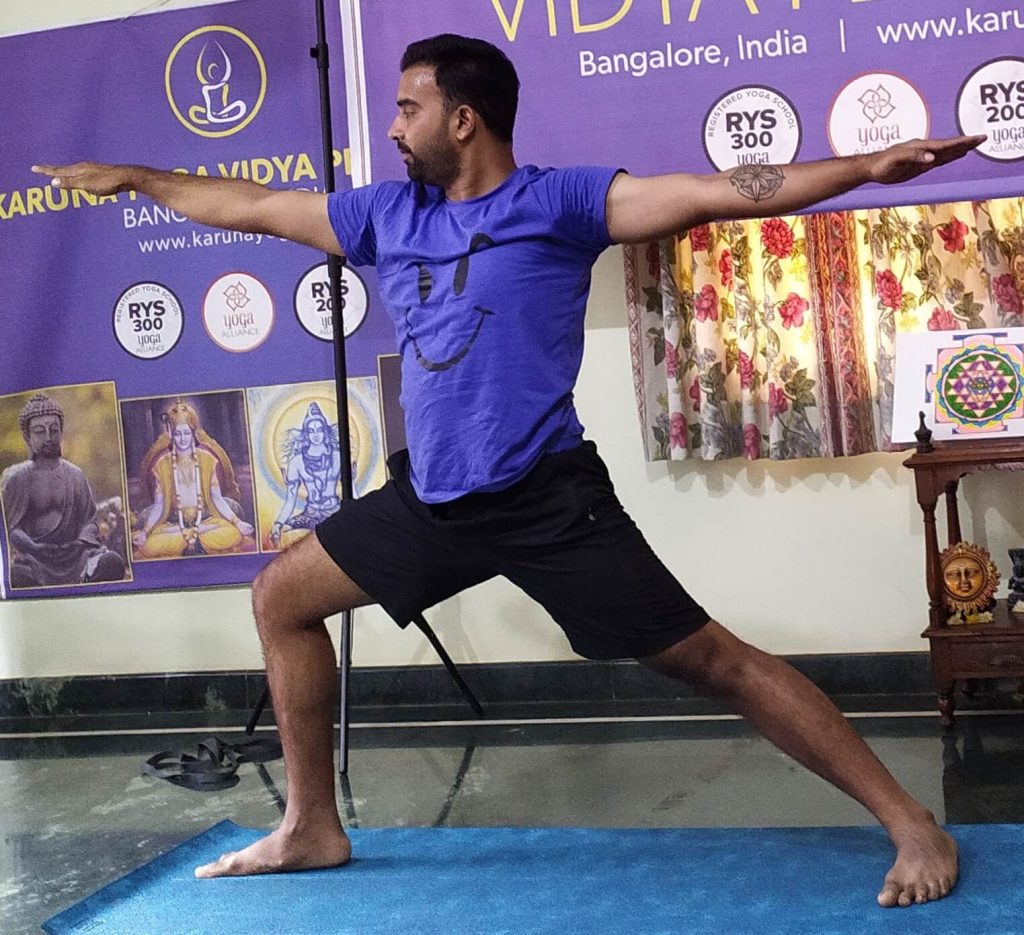
Different levels of hatha yoga class, and its prerequisites. Ideally, there are four levels of Hatha Yoga Practices – Foundation, Beginners, Intermediate, and Advanced. Foundation course usually involves Yin Yoga, Restorative Yoga, and Yoga Therapy, it is usually used for people who come with certain complaints and restraints. The beginner level is for everyone as it accommodates the basics of the practice, SuryaNamaskara with modifications, and basic asanas for beginners. It is ideal for people with issues that might not be able to practice dynamic yoga. Intermediate and Advanced Yoga classes are dynamic and involve dynamic practices including several rounds of SuryaNamaskara, Vinyasa, and Advanced level asanas including inverted asanas. These level classes can be taken by people who have practiced yoga and do not have heart issues, back pain, knee pain, blood pressure, sciatica, neurological disorders like epilepsy, etc. Although, a class can be structured to be inclusive of all levels and open for everyone. The teacher can modify the students who are beginning to adjust to their level or have them rest in Balasana when they are getting tired. If a student is deemed unfit to practice yoga at a particular level after the teacher’s diagnosis. The teacher should approach them individually and explain to them the nature of the issue and offer alternatives. Courtesy To: Shrutika Mishra, RYT – 200 Hour
Voice and language, in related to different types of hatha yoga classes.
Voice and language, in related to different types of hatha yoga classes. Voice is an integral part of connecting with students and teaching. As the teacher, the voice is how they present themselves and how the students will perceive them for it. The voice of the teacher should manifest from the Vishuddha Chakra, from the throat to be clearer and speak with ease. It should be sufficiently audible, enough for all students to hear it but not too loud so it becomes too distracting. The voice and tone should match the tone of the class. It should be intense for dynamic practices like vinyasa but it should be soft, relaxed, and soothing during Restorative Yoga, Savasana, or Yoga Nidra. The tone and voice used by the teacher should have a certain level of assertiveness, but also kindness and empathy. They should not sound condescending in any way. The language used by the teacher should be direct, concise, and easy to understand. The use of Sanskrit names of the asanas is a personal choice and can impact the practice depending on the student. Courtesy To: Shrutika Mishra, RYT – 200 Hour
The steps involved in, basics arc structure of class.
The steps involved in, basics arc structure of class. Centering Prayer/ Chanting Pranayama Warm-Up SuryaNamaskara For beginners: break 3-5 minutes either in Child’s pose Balasana, or Corpse pose Savasana, or standing Intermediate and advanced students can continue without break. Asana Practice: Standing Asanas – starting from Tree Pose or Tadasana and then transitioning to another standing Kneeling Poses Sitting Poses – starting from Seated Tree Pose or Sitting Tadasana and then transitioning to other sitting Abdomen Poses Supine Poses Inverted Poses Laying poses’ Closing Pranayama – Yogic Breathing Ending Prayer – Omkara Tri Courtesy To: Shrutika Mishra , RYT – 200 Hour
Yoga classroom setup and orientation.
Yoga classroom setup and orientation. The classroom orientation and setup are vital for a yoga class as they determine the position of the teacher and the students. The setup should be ideal for the students to learn as effectively as possible. Ideally, the teacher’s yoga mat should be placed ahead of the class, in a position where each student can visibly watch the teacher demonstrate. The teacher can use two yoga mats placed one over the other in a “+” formation to be able to demonstrate from both directions with ease. In the rectangular method of orientation, the students’ mats should be placed opposite to the teacher, either vertically or horizontally depending on the space. Novice, beginner students should be oriented towards the front to better be able to observe the teacher, also they should be closer to the wall in case they need support for certain asanas. Pregnant women should also be in the front close to a wall for support. This will allow the teacher to have a better view for observation and provide assistance whenever needed. Proficient, advanced, and tall students should be oriented towards the backside. The teacher’s position should be away from the entrance so that, students coming in do not interrupt the ongoing class. Another orientation method called the Community Alignment can be used. In this, the teacher is in the middle and the students’ mats are arranged either in a circle or a semi-circle around the teacher’s mat. This orientation allows a more energetic vibration and also allows teachers to have an easy observation view for all the students. Courtesy To: Shrutika Mishra, RYT – 200 Hour
Qualification to practice Ashtanga Suryanamaskara, Write its contraindications and its modification method.
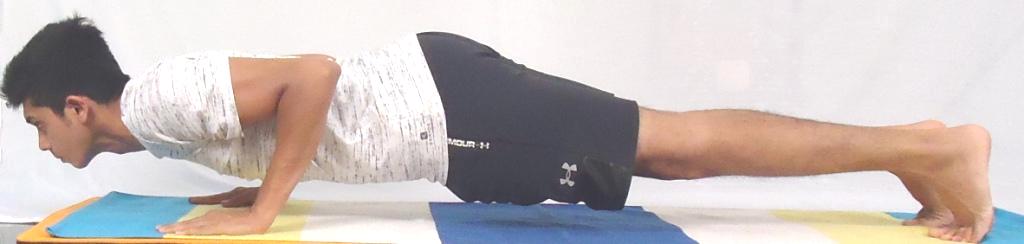
Qualification to practice Ashtanga Suryanamaskara, Write its contraindications and its modification method. Ashtanga Namaskara should be avoided by people who have an injury or are recovering from surgery. It should be avoided by people who have high blood pressure, cardiac/heart-related issues, back and knee pain. The practice should not be continued during pregnancy. It should also not be practiced by people who have a neurological disorder like epilepsy. Modifications: During the Uttanasasna, the beginners can bend as far down as possible, don’t necessarily have to touch their hands to the mat. People with mild knee pain can bend their knees in the position. During Ardh Uttanasasna, depending on the flexibility of the individual, they can place the hand on the mat near the toes or on their knees. Ned to ensure the back is straight. For Chaturanga, people can either jump back or walk back. People with knee issues should avoid jumping. For Chaturanga, people who cannot perform the chaturanga, can either do Ardh Chaturanga, with knees on the mat. Otherwise, they can do the Knees-Chest-Chin (Ashtanga Namaskara) before transitioning to Upward Dog. For Upward Dog or Urdhva Mukha Svanasana, beginners can hold the pose using toes tucked in but should practice transitioning to balancing on the inner side, toes tucked out. For Downward Dor or Adho Mukha Svanasana, beginners who aren’t able to rest their entire foot on the mat can bend their knees to allow the foot to rest completely on the mat and then slowly straighten their knees. Courtesy To: Shrutika Mishra, RYT – 200 Hour
Qualification to practice Chandra Suryanamaskara, and its modification method.
Qualification to practice Chandra Suryanamaskara, and its modification method. The practice of Chandra Namaskara should not be done by people with heart/ cardiac problems, back pain issues, knee pain, ankle pain issues/ injuries, high blood pressure, peptic ulcers, hernia, hyperthyroidism, and intestinal tuberculosis. Also, people with neurological disorders like epilepsy should avoid this practice. Modifications: During the Padhastasna, the beginners can bend as far down as possible, don’t necessarily have to touch their hands to the mat. People with mild knee pain can bend their knees in the position. During the Low Lunge (Chandra Namaskar), the beginners can keep the hands on the side of their waist to maintain balance, or hands can be close to the chest. Only if the balance is in place, they can take their hands upwards. Beginners can maintain their gaze in the front and slowly bend back shifting their gaze to the sky. For the Parvatasana, the knees can be bent for people who are not able to align their entire foot on the mat, also applicable for beginners. Courtesy To: Shrutika Mishra, RYT – 200 Hour